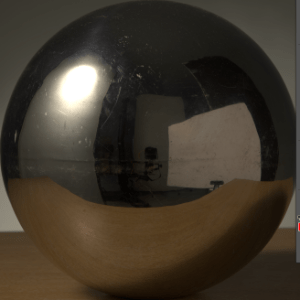
Flipped Normals have a free studio lighting scene available for rendering with Arnold for Maya. I highly recommend the full scene as a quick and easy way to light your models realistically using Arnold for Maya.
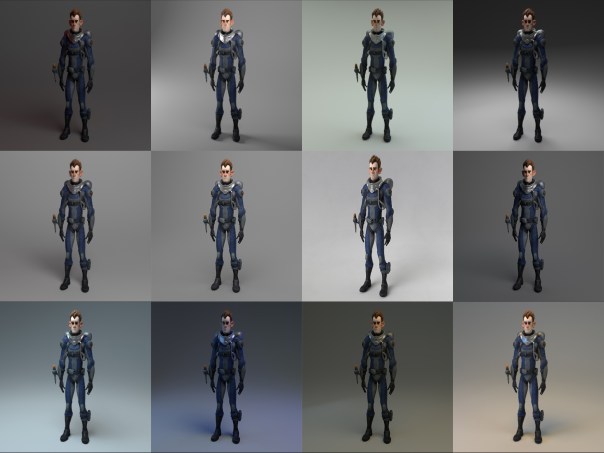
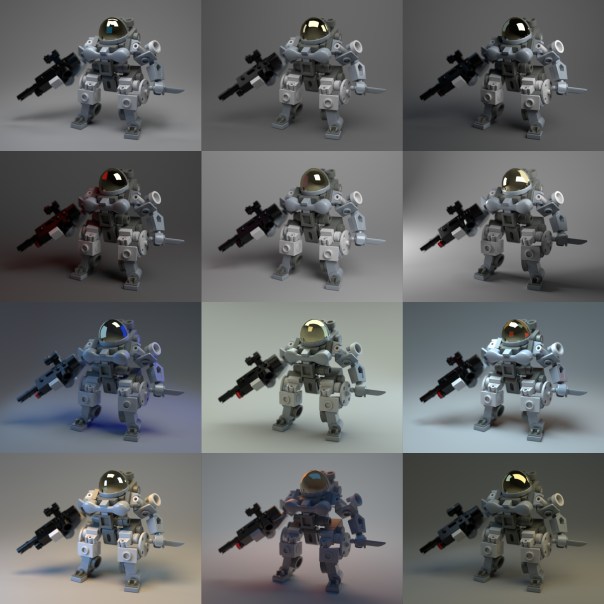


Flipped Normals have a free studio lighting scene available for rendering with Arnold for Maya. I highly recommend the full scene as a quick and easy way to light your models realistically using Arnold for Maya.

This ‘making of’ tutorial covers how to deform a head model into a surreal shape using the L3 Deformer plugin from Lightstorm3D (purchase required). This toolset is a collection of advanced deformation nodes and utilities for Maya. We will focus on the Collision Deformer in this tutorial. We will then move onto shading and lighting the head model to create a convincing photographic portrait look to our render. We will use the alSurface shader to add skin shading to the model with Arnold. Arnold can make use of 3rd party shaders such as the alShaders by Anders Langlands. This collection of shaders will need to be installed prior to starting this tutorial. Further examples using this technique can be found here.
This tutorial is divided into the following sections:


Requirements
Before you start this tutorial ensure that you have downloaded and installed the following files:
|
Make sure that the L3 Deformer plugin is installed correctly and loaded in the Maya Plug-in Manager before starting this tutorial.
The Collision Deformer allows you to collide objects with polygon geometry, using projected collisions such as directional, concentrical and cylindrical.


The Collider node comes with some extra attributes aside from specifying the type of projection. You can choose between inward and outward projection for concentrical and cylindrical projections. You can also specify which side of a polygon to consider during collision detection (frontal, posterior or both). Soft depth and resistance attributes simulate the effect of soft collision geometry that can be compressed to some degree.
In this tutorial we will use the default concentrical collider setting, but we will alter the Soft depth and resistance values to achieve a smoother deformation effect.

The deformation effect currently looks too angular. We will need to change some of the default Collision Settings to give a softer merge between the head and the cube.

| Remember to convert your textures to .tx format using the TX Manager for more efficient rendering. You should use .tx files for everything (except with the aiSkydome and Quad lights). |


Below you can see the difference when rendering with the SSS modes: Cubic and Directional. The difference is subtle, but Directional SSS is generally recommended for skin as it has less of a ‘waxy’ appearance.


For final rendering increase all light Samples to 3 and increase Camera (AA) to 5 or 6. The SSS looks a little noisy with SSS Mode set to Directional using the default settings. Try increasing the SSS to 3 or 4 for the final render. Beware that increasing SSS samples can have a large impact on render time.

Applying Auto Tone to the image in Photoshop adjusts the tonal values and gives a more pleasing ‘photographic’ look to the render. Remember to convert the image to 8-bit prior to using Auto Tone.

That concludes this making of tutorial. Why not have a go at producing some bizarre and surreal head shapes using this technique!

Very honored to receive Creative Commission’s November’s Album Cover of the Month for the cover of Kateboy‘s album ‘One’.


The camera rolling shutter effect can be used to create some very trippy and surreal effects.
Below is a video demonstrating this effect in MtoA using the new render view which gives some very nice realtime feedback.
A video tutorial that goes through the process in C4DtoA can be found here. Some more real world examples can also be found here.
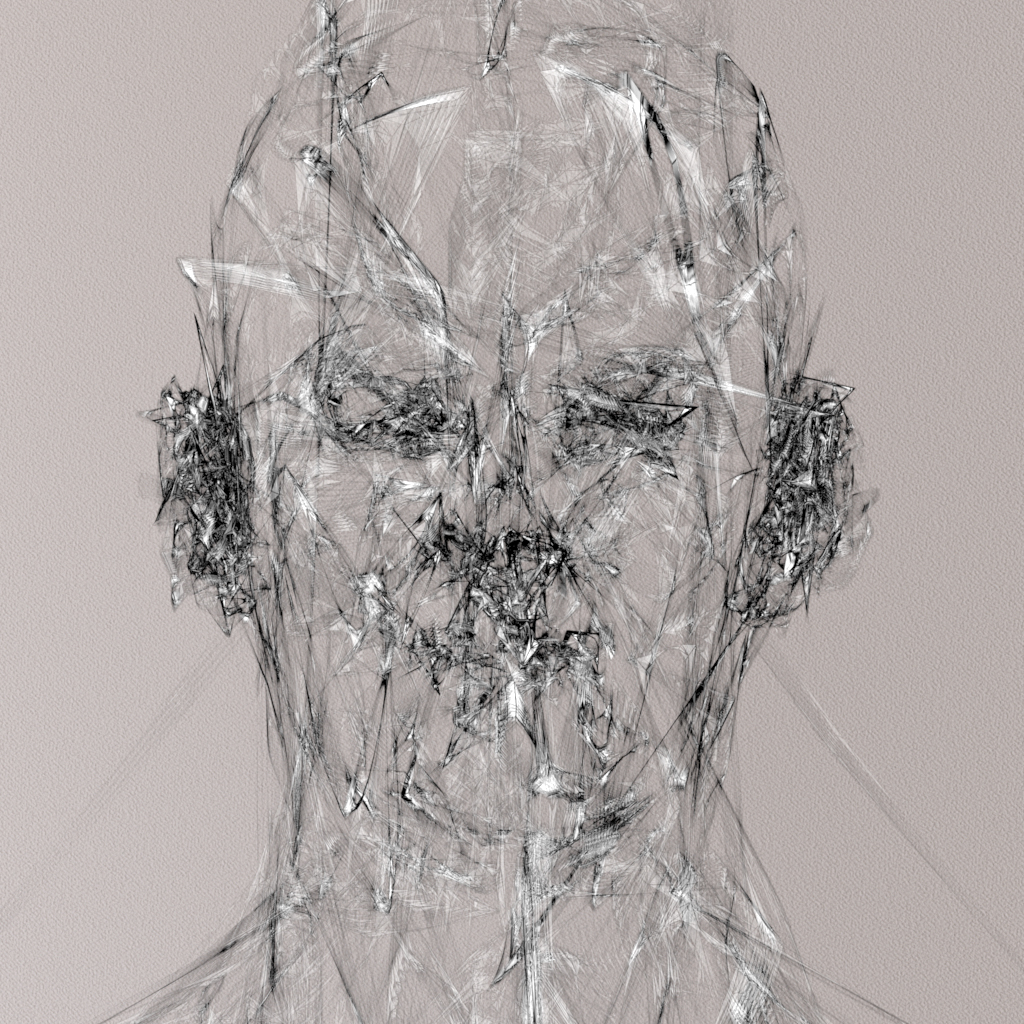
I was having a play with the very versatile Utility shader assigned to a head mesh and accidentally came up with something that looks like a pencil sketch style. I scaled the head down in Z so that it’s almost flat. The Utility shader’s ‘Overlay Mode’ is set to Wire so that the wireframe of the mesh is visible and lowered the Opacity to 0.1 (remembering to disable ‘Opaque’ and ‘Cast Shadows’ on the mesh).


Below are in camera renders from Arnold (no post processing involved).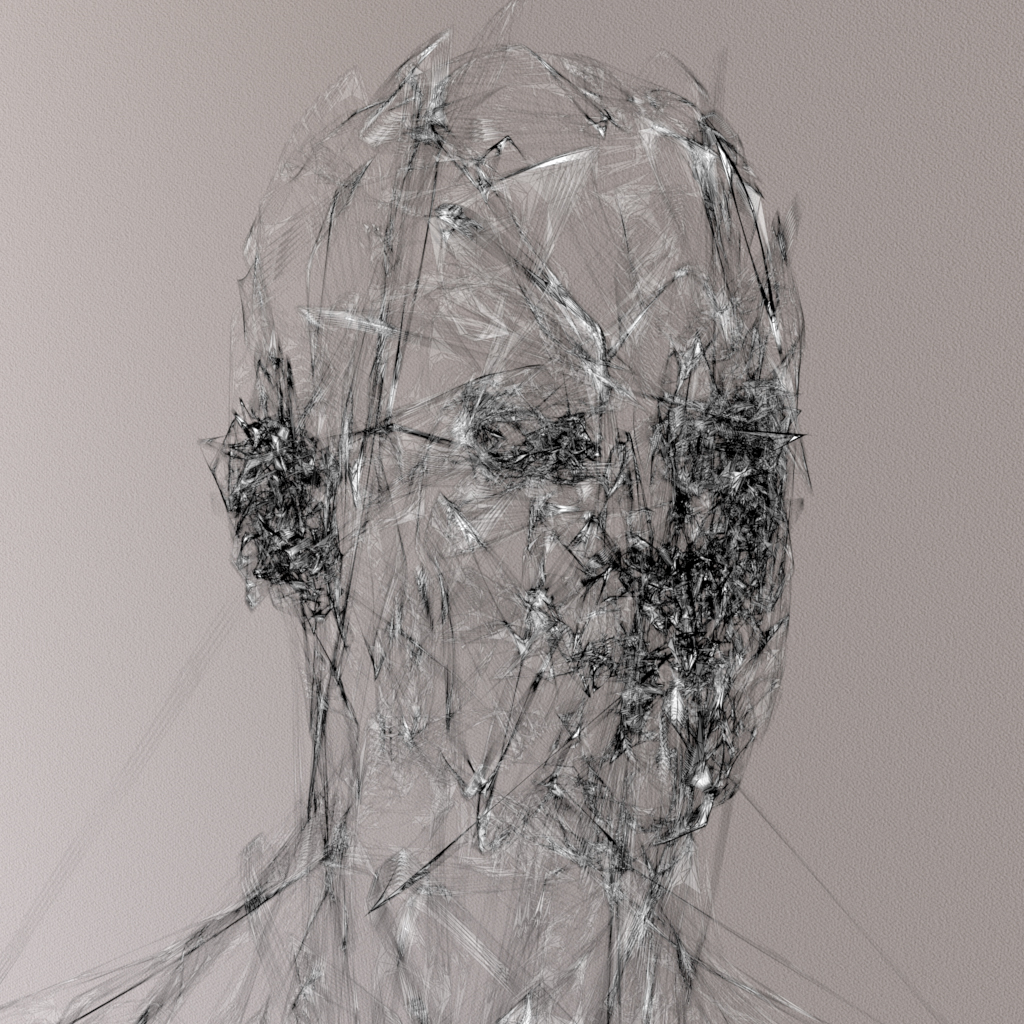


Delighted to see my artwork used on the latest album by Kateboy.
A 3D scan was taken of the lead singer Kate Akhurst which I used to project the curves onto in Maya. Kateboy then art directed how they wanted the curves to look in relation to the original head scan. I then rendered the image using Arnold for Maya by Solid Angle. A more technical breakdown of the process can be found in this tutorial.

The album can be ordered here:
iTunes: http://po.st/KBODLFB
CD and 12″ Vinyl: http://po.st/KBOPFB
While I appreciate the functionality of the new Hotkey Editor in Maya 2016, I feel it could be improved. My main bugbears with it are:

Anyway I mocked up a couple of ways to improve the look and feel of the window. Rant over 🙂


Recently inspired by Chad Ashley’s test with the alCurvature shader by Anders Langland, I thought I would also give it a test. It seems very useful for creating ‘dirt map’ effects. In the examples below it has been connected to the Diffuse Roughness attribute of the alSurface shader.

The examples below show both Negative and Positive modes (Positive selects convex regions while Negative selects concave regions of the turtle’s shell).
They use decreasing Radius values (smaller values pick out finer detail in the model, while larger values give a smoother result).
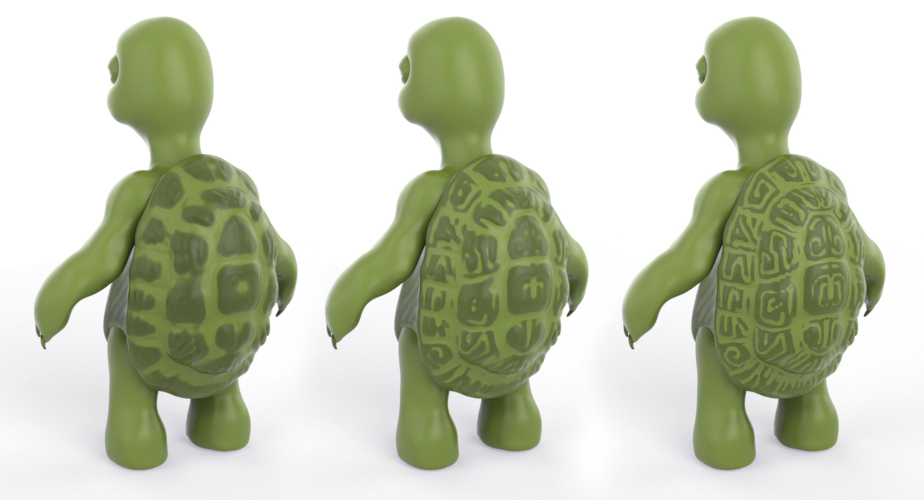

Many thanks to Josh Alexander for the use of his very cute turtle model.

The slides from my presentation at FMX 2015 can be found here (35,191 KB).
I created a guide to sampling in Arnold with the help from my colleagues at Solid Angle.
It is also available in the following flavors – MtoA SitoA HtoA C4DtoA.


You must be logged in to post a comment.